
 James
James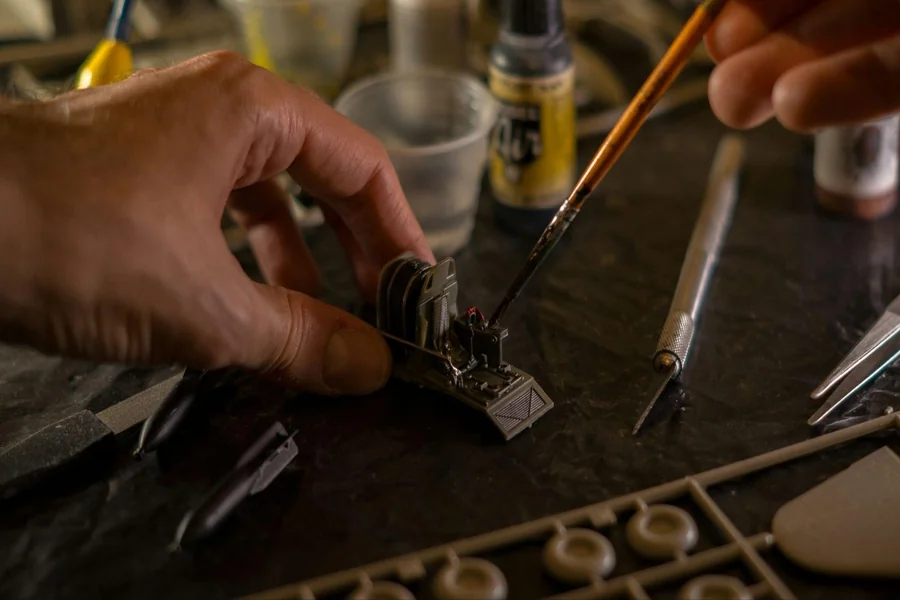
Miniature paintings often look extremely detailed. With every panel of the armor, every weapon, every insignia, and every face painted, such models give an impression of painters who spent decades perfecting their craft.
However, this is not true. Beginners can make excellent miniatures with a couple of basic techniques mastered without difficulty. There is no need to be an experienced painter or to have perfectly steady hands.
All that is required is a clear understanding of preparation, consistency of paint, brush technique, shading, and highlighting.
Know the Basic Painting Process Before Experimenting
One of the quickest ways to make miniature painting seem complicated is to begin without having a clue how to continue. A simple order of actions will get rid of much of the confusion.
In case you are learning how to paint warhammer 40k models, it is better to divide the process into stages instead of painting every detail right away. The standard process starts with preparation and priming, painting of the base colors, shading, highlighting, and finishing touches.
This order simplifies the process greatly, as each of its stages has a clear purpose.
There is no reason to paint every buckle and every cable perfectly right away. First, paint the major armor panels, clothing, skin, weapons, and other major areas.
It becomes much easier to work on small details when refining the nearly finished miniature, rather than working with a completely unpainted one.
Proper Preparation Will Make Painting Much Easier
A good painting process starts way before the brush touches the miniature.
The miniature might have mold lines, connection points, and other small imperfections. Once paint is applied, these details become much more noticeable. Even highlights can make some details look unnatural.
It is necessary to clean the miniature before priming. Mold lines can be removed carefully, connection points cleaned up, and all the parts secured in place.
Priming provides the model with a consistent surface for further painting. There are black, grey, and white primers, and each of them makes some colors easier to apply. Dark primer is forgiving because it covers missed recesses, while white primer makes bright colors easier to apply.
The most important thing about the primer is avoiding a very thick layer. Priming must cover the surface of the model without hiding fine details.
Several layers are preferable to one thick layer. Fine details are what make minis so appealing, so preserving them is more important than covering the surface quickly.
Thinner Paint Looks Better Than Thicker Paint
One of the most typical mistakes beginners make is using the paint straight out of the tube and applying thick layers to the miniature.
Thick paint leaves brush strokes, fills small recesses, softens fine details, and creates an uneven surface. The miniature may look right in terms of colors, but still rough because of the excessive amount of paint used.
Using thin layers of paint provides a much cleaner finish.
The exact amount of water that must be mixed with paint depends on the type and color of the paint and on the intended effect. What matters is making the paint run smoothly off the brush without being so watery that it runs everywhere.
Do not worry if the first layer looks somewhat uneven. Two thin coats produce a better result than one thick coat.
This is especially important with lighter colors that require additional layers to become fully opaque.
You Do Not Need to Have a Very Small Brush
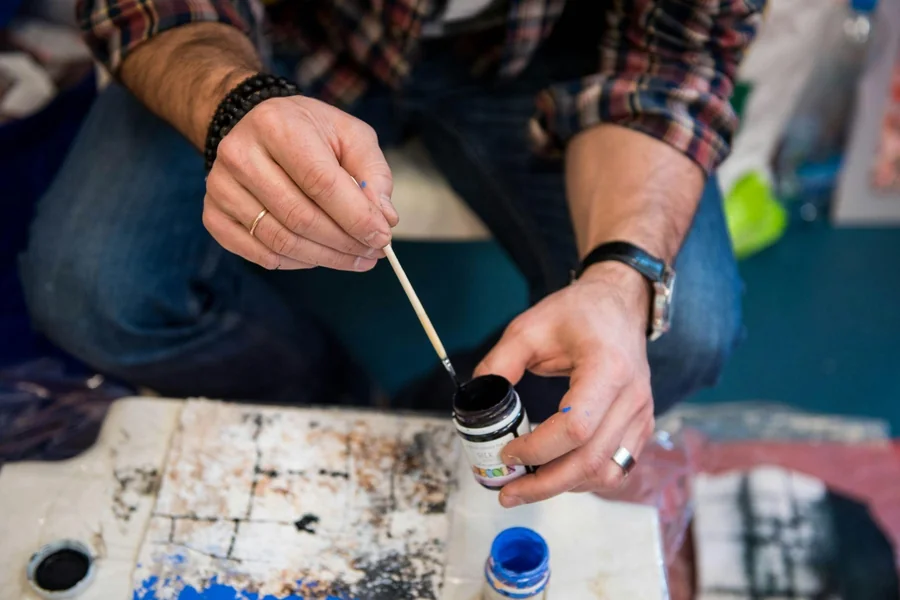
Many beginners believe that miniature painting needs tiny brushes. However, very small brushes can sometimes complicate the painting process because they carry very little paint and dry quickly.
For larger armor panels, cloaks, vehicles, or any other broad surfaces, a slightly larger brush with a good point is preferable. The key aspect is not the size of the brush, but the quality of its point.
It is possible to use the side of the brush when painting broad areas and the tip when creating controlled strokes.
It is necessary to avoid overloading the brush. The paint should stay away from the metal ferrule of the brush where the bristles connect with the handle. Otherwise, the brush will get clogged with dried paint and will become unusable.
Controlling the brush becomes easier with time. At first, painting an eye lens or a buckle on the armor seems very difficult, but after several models are painted, it becomes much easier.
You can stabilize your hands by placing your hands one upon another. It is much easier to control the movements of the hands this way instead of keeping them in the air.
Shading Adds Dimension Much Quicker Than Tiny Details
A miniature painted only in flat colors looks unfinished even if the application is neat. Shading fixes this issue quickly.
Miniatures are small objects, so natural lighting does not provide enough contrast for every sculpted detail to be visible. Adding shadows to recesses will help to define the armor panels, fabric folds, muscles, mechanical parts, and other details.
Washes and shades are quite popular because of their tendency to accumulate in recesses. They provide noticeable depth without the need to paint precisely with a brush.
What matters is controlling the places where the shade will accumulate. Pools of shade dry unevenly, so it is better to move excess paint from the flat areas of the miniature.
It is also possible to apply the dark color selectively. Applying a darker color only in recesses around armor panels helps to preserve bright areas while still providing definition to every single plate.
Once the shading is done, the miniature already looks three-dimensional.
Highlights Will Finish Your Model
Many beginners expect highlighting to be difficult, but basic highlighting can remain very simple.
First of all, it is necessary to highlight raised areas. Edges of the armor panels, fabric folds, knuckles, corners of the weapons, and other exposed parts naturally receive more light. Using a slightly brighter color of the same shade helps to emphasize the shape of these parts.
Edge highlighting works great for armored miniatures. It is necessary to use the side of the brush instead of trying to paint the outlines with the tip of the brush.
It is not necessary to highlight every surface equally.
It is better to pay attention to the parts that are easily seen: the face, helmet, shoulders, weapons, and the top parts of the model. More highlights on the top parts and fewer highlights on the bottom parts will make the lighting look natural.
It is inevitable to make mistakes while highlighting, but they can be easily fixed. Simply go over the wrong area with the base color.
