
 James
James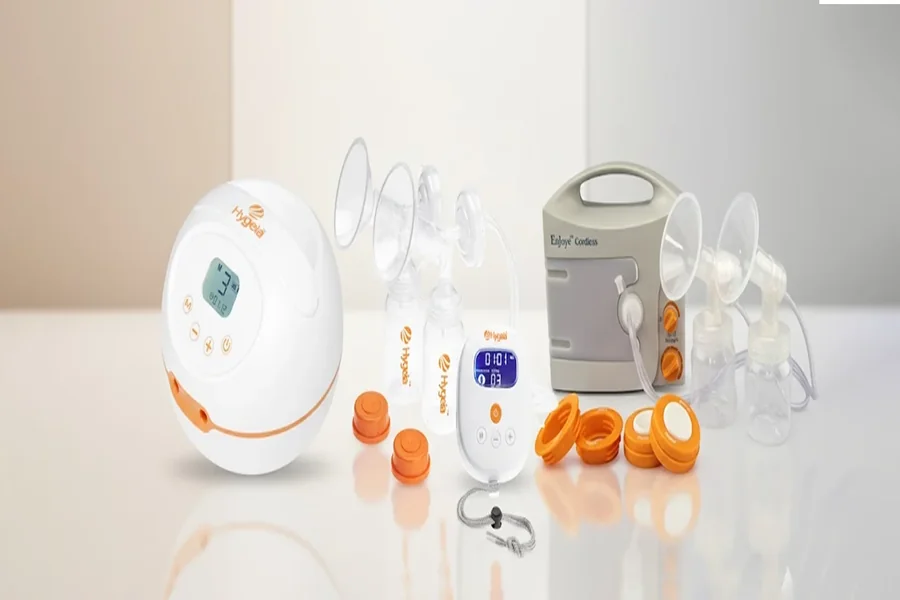
The first days at home pass in short stretches of sleep and frequent feeds. A pump often sits in its box while the household finds a rhythm. The setup itself takes less time than most parents expect once the steps are clear. This guide covers the first charge, the fit check, and the routine that follows.
First Steps in the Early Days at Home
Timing depends on how feeds are going and what a provider advises. A Portable Breast Pump can be assembled and charged in advance, so it is ready whenever the moment arrives. A full charge takes a few hours on a USB-C cable. Early setup removes one task from an already full day.
Open the box and lay out every part on a clean towel. Bottles, flanges, valves, diaphragms, tubes, and the connector all have a place. A quick read of the manual saves confusion at 3 a.m. Familiar parts aid to a calmer first session.
Correct Fit Before the First Session
Fit shapes comfort more than any setting on the display. Most kits include a ruler for nipple measurement along with several insert sizes. Sizes in the 13mm to 21mm range cover a wide span of needs. A measurement taken at rest gives the starting point.
Signs of a Poor Match
Discomfort is the clearest signal that the size needs a change. Rubbing at the tunnel edge points to an insert that is too small. Areola pulled deep into the flange suggests one that is too large. A sizing guide or a lactation consultant helps with the adjustment.
Setup on the Day of the First Session
A short checklist keeps the first attempt simple:
- Wash hands along with all parts that touch milk
- Attach the correct insert inside each flange
- Connect tubes to the unit with the T-connector in place
- Confirm the battery shows a full charge
- Keep water and a snack within reach
Choose a quiet spot with a chair that supports the back. Warmth on the breast for a minute or two may help improve letdown. A photo of the baby nearby serves the same purpose. Relaxed shoulders make a real difference to output.
Modes and Levels for a New Routine
Most units open on a stimulation mode with a fast, light rhythm. That pattern mimics the quick, non-nutritive sucking rate of an infant, typically around 120 cycles per minute, to trigger milk let-down. Once milk flows, a switch to an expression mode draws with slower, stronger pulls (around 35 to 60 cycles per minute). Suction levels move up only to the point that stays comfortable.
Session length usually lands between fifteen and twenty-five minutes. Watch the flow rather than the clock. A hands-free setup with a lanyard frees both hands during that time. Comfort takes priority over any target number.
Cleaning and Storage After Each Use
Parts that touch milk need a wash after every session. Warm soapy water, a dedicated basin, and air drying on a clean rack cover the basics. Tubes that stay dry require no rinse unless milk backs into them. Detachable tubes make the whole task quicker.
Milk goes into a clean container and straight to a cooler or fridge. Label each bottle with the date. Store the unit itself in its tote once parts are dry. A settled routine helps with consistency across the weeks ahead.
The first pumping sessions rarely go perfectly, and that is normal. Fit, comfort settings, and a clean routine matter more than early output numbers. Questions about supply, frequency, or soreness belong with a lactation consultant or a healthcare provider. Steady practice across the first weeks builds a routine that holds.
